Camellias are long-lived trees and shrubs that provide year-round glossy-green foliage and cool-season flowers and have an undeserved reputation for being hard to grow. So unfair! Just provide appropriate growing conditions, timed pruning and fertilizing, and good garden hygiene and you’ll be blooming with success. Here’s what you need to know.
Selecting the Right Variety for Your Needs
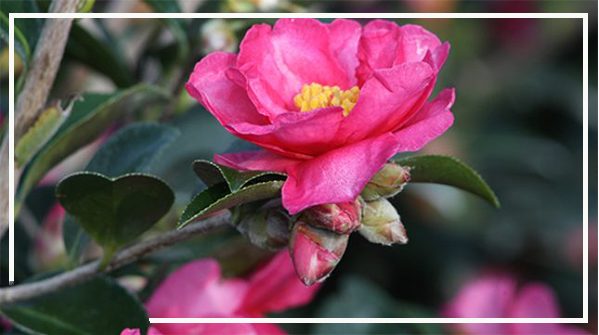
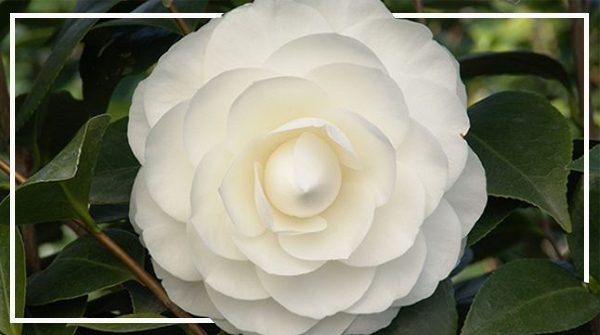
There are lots of camellias in the world but most we grow two types–C. sasanqua which blooms early and C. japonica which blooms later. When selecting camellias for the garden start by looking at bloom time; sasanquas bloom from mid fall to early winter (early-to-mid season), japonicas from mid winter to spring (mid-to- late season) and hybrids can be either depending on variety. Select plants with different flowering schedules to enjoy blooms for an extended period.
Consider where you’re planning to plant the camellia. Subtle differences in growth habit, bloom size, and bloom color between cultivars means there’s probably a camellia that will perfectly slot into your garden design like a missing puzzle piece. Here are just a few examples of how to use camellias (here’s the rest of the story).
If the camellia will grow near a door or sidewalk you frequent, think about planting a fragrant variety such as Fairy Blush. It’s a winter-blooming hybrid that’s also good for small gardens, as it matures to 4-5 feet in height and width.
‘Shishi Gashira’ is a popular multi-use cultivar that’s perfect for fall when you need color . It has bright pink blooms with a cluster of prominent yellow stamens and a somewhat spreading form that can easily be trained as a tall groundcover or an espalier.
Tall camellia varieties (like C. japonica ‘Debutante’ and C. japonica ‘Nuccio’s Gem’ are ideal for hedging or screens, and can be planted as under story trees to add interest in the middle layer of the lands.
Planting Camellia Shrubs
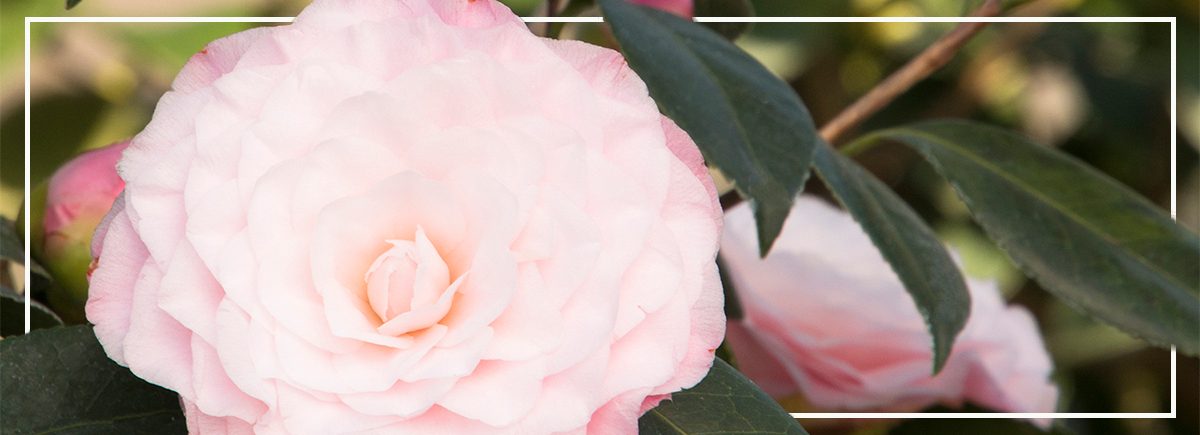
Timing is critical when planting camellias. Gardeners in warm areas (zones 8-10) can plant in the fall, winter, or spring. In zones 6 and 7, spring is a better time for planting so that the shrubs have the chance to establish a solid root system before cold weather in the fall.
To plant, dig a hole that is twice as wide as the rootball and just as deep. Then backfill the bottom two to three inches of the hole and pack it down. Remove the plant from the container and place it in the center of the hole. The top of the rootball should be 2-4 inches above grade. Camellias do not grow well when planted too deep and, in fact, are more sensitive than other plants, so this is an important detail to follow. Fill in around the plant, gently sloping the soil up the sides of the exposed rootball. Do not cover the tops of the rootball. Mulch around the plant, with just a thin layer (1 inch) over the top of the root ball. Water at the time of planting.
What Camellias Want
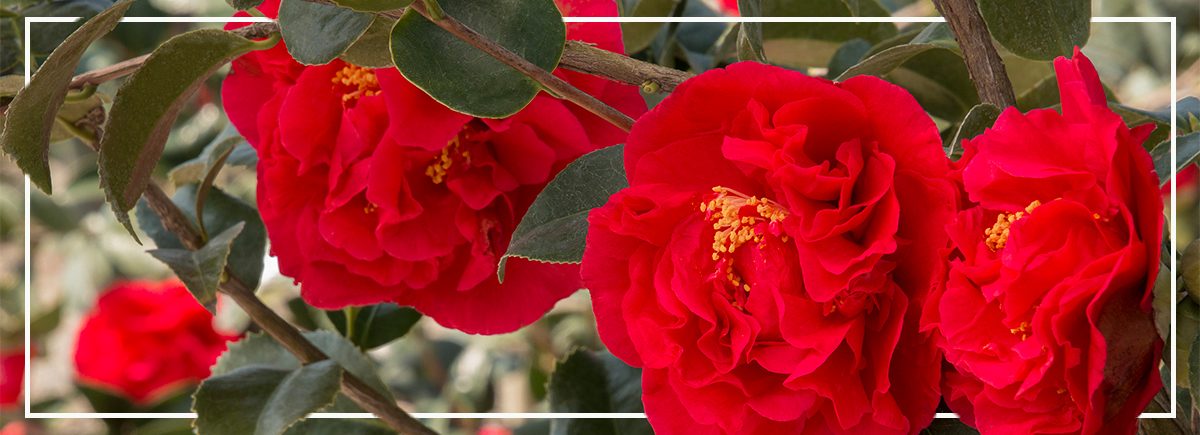
Zone: Most camellia varieties are hardy in zones 7-10, but some, such as the Monrovia Ice Angels® series, are hardy to zone 6.
Soil: Camellias need slightly acidic soil (pH 5.5-6.5); they don’t grow well in soils with a high pH and will exhibit signs of stress, including yellowing leaves, if the soil is alkaline.
Moisture: Camellias do not tolerate wet feet; it’s essential that you site them in an area with well-drained soil.
Light: In general, camellias grow and bloom better in partial shade (morning sun and dappled afternoon shade are ideal conditions) with shelter from hot afternoon sun. This is especially true for young plants, which thrive under the shade of tall trees or when grown on the north side of a house. As they grow larger and their thick canopy of leaves shades and cools their roots, they gradually will accept more sun. Shade provided in winter helps reduce cold damage for camellias growing in zones 6 and 7.
Watering: Camellias need to be watered when newly planted or during times of extreme drought. Established plants (over 3 years old, vigorous, and shading their own roots) get by with little supplemental water. If you do water them, make sure the soil is well drained.
Fertilizing: Camellia shrubs need fertilizer, but not when they’re in bud or flower. Wait at least a month after they finish blooming, and then apply an acid-based fertilizer every eight weeks until they set their buds. Do not fertilize after August, as the plants will be entering a period of dormancy. Fertilizer could cause unwanted growth without enough time to harden off before cold weather.
Pruning: Prune after blooming has ended. Remove dead or weak wood; thin out growth when it is so dense that flowers have no room to open properly. Shorten lower branches to encourage upright growth; cut back top growth to make lanky shrubs bushier. When pruning, cut just above a scar that marks the end of the previous year’s growth (often a slightly thickened, somewhat rough area where bark texture and color change slightly). Making your cuts just above this point usually forces three or four dominant buds into growth.
What to Watch Out For
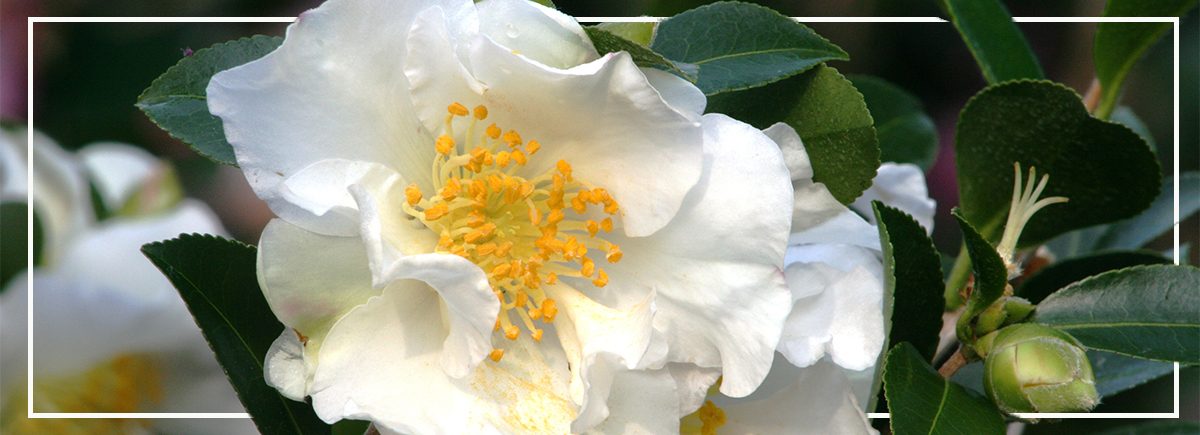
Even shrubs that are pretty painless to grow can have their issues. Be on the lookout for these camellia spoilers.
Tea scale: This is the most common form of scale to affect camellias. Insects feed on the undersides of the leaves, which results in chlorosis (yellowing) of the tops of the leaves. The best way to deal with this pest is to prune and open up the canopy, promoting good airflow. It can also be controlled through application of horticultural oil. Consult your local nursery for advice.
Dieback: This is the sudden death of the tips of branches. It’s caused by a fungus, and the only treatment is to remove the dead branches by pruning six inches below the dead area. Disinfect pruners with rubbing alcohol between cuts and throw branches in the trash—do not compost.
Camellia petal blight: Flowers with brown spots or brown tips that aren’t caused by frost damage are a sign of petal blight. Control this disease problem by regularly removing dropped flowers and leaves from under the plants, removing and discarding any existing mulch and adding a layer of fresh mulch to the area under the infected tree.
Yellow leaves: This is usually indicative of an iron deficiency. Test the soil pH and adjust it if its over 6.5. You may need to feed with iron supplements.
Camellia leaf gall: Causes leaves to become distorted, pale, thick, and fleshy; they gradually turn white, then brown, then drop from the plant. The best control is to pick up and destroy affected leaves before they turn white.
Bud drop: Some camellias will drop buds. This can be a natural result of the shrub setting more buds than it can open or, more often, because it has not been planted with good soil drainage, or has been exposed to either too much or too little water.
Once you choose a camellia that is appropriate for your zone and attend to its basic needs, especially when young, this shrub should pose no more challenges than any other evergreen flowering shrub. If you have questions or need more specific info, we would love to help. Please leave a comment below. Meanwhile, here are 10 camellias we totally recommend!


Please login to comment.
Don't have an account?
Sign Up for free